
A step-by-step walkthrough for students: capture an audio take in the EEi Music Studio, save it, link it to the right assignment, add a self-assessment, and submit it to your teacher.
1. Record and save your best take
Record yourself playing. Make as many attempts as you like — there’s no limit. When you have a take you’re happy with, click Save Take to keep it.

2. Name your recording
Give your recording a name you’ll recognize later — your teacher sees the same name when they review it.

3. Open Saved Recordings and click Submit
All your saved takes live in one place — Saved Recordings. From here, click Submit next to the recording you want to send to your teacher.

4. Link to an assignment (optional)
If your teacher gave you a specific assignment, you can link your recording to it. The submit screen lets you pick the right one.
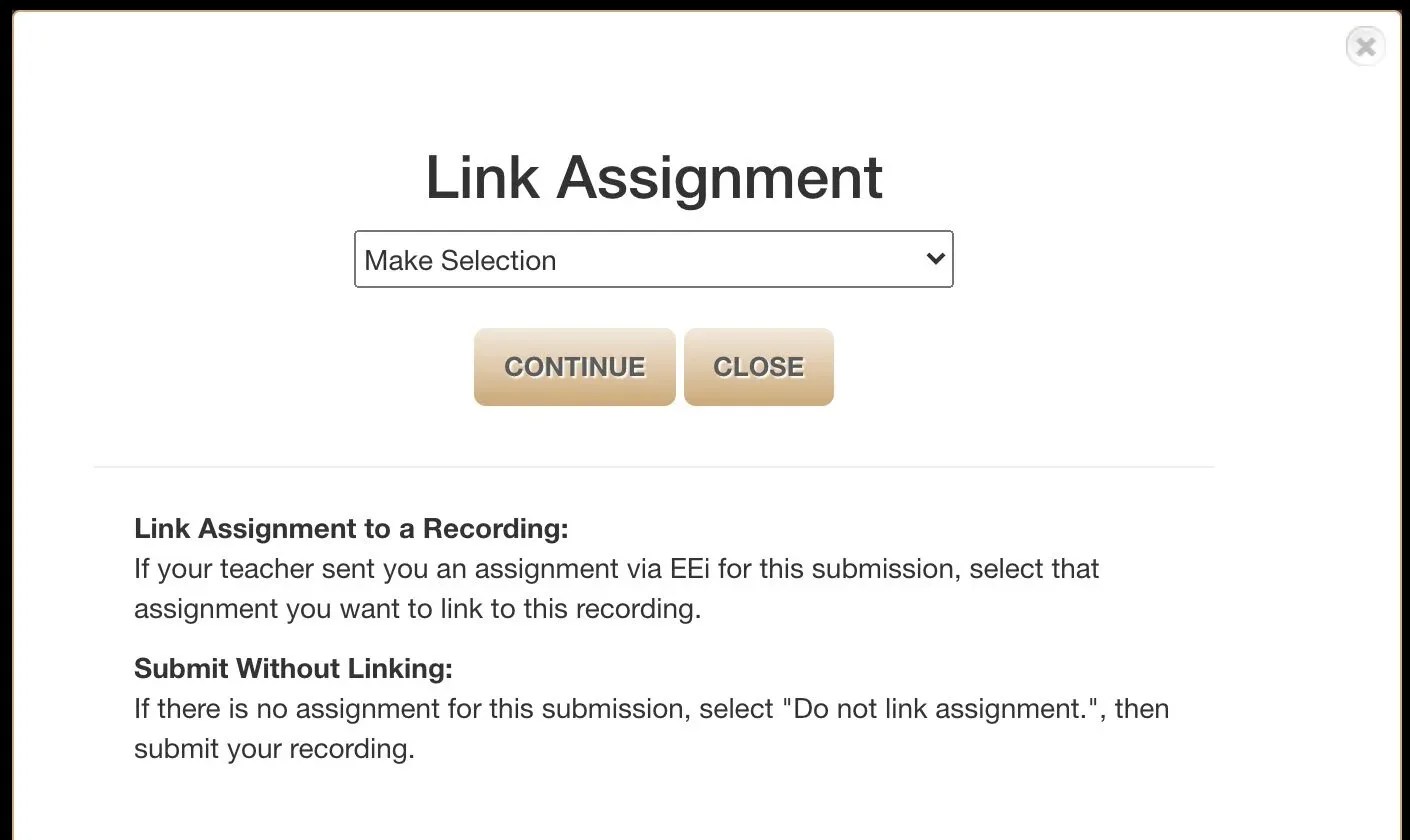
5. Pick the assignment from the list
Choose the assignment your recording belongs to.
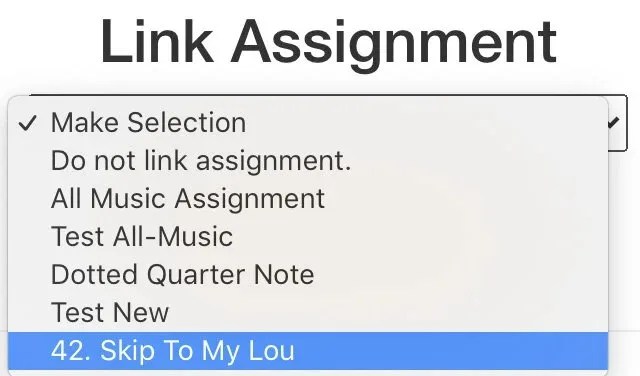
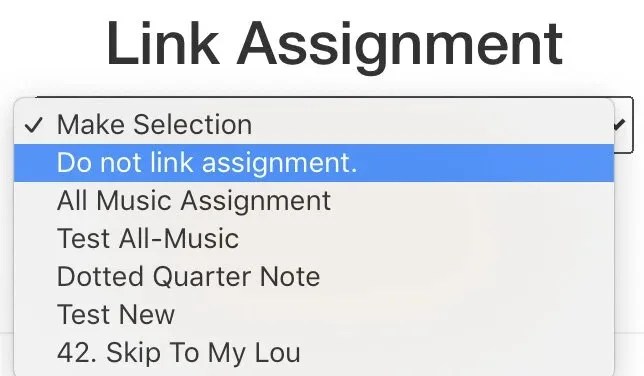
6. Or skip the link if it’s free practice
Not every recording belongs to an assignment. If you’re just sharing a practice take with your teacher, choose Do not link to assignment and move on.
7. Add a self-assessment
Take a moment to reflect on your own playing — what went well, what you’d work on next time. Reflecting on your performance is one of the fastest ways to grow as a musician: it trains your ear, builds focus, and tells your teacher exactly what you noticed. Your teacher sees both the recording and your self-assessment, so their feedback can target the things you’re already paying attention to.

8. Done — recording sent
That’s it. Your recording is on its way to your teacher and they’ll review it. Way to go!

Leave a Reply